Install
Dependencies
On Windows: download the Microsoft Visual C++ Redistributable.
On MacOS: install Visual Studio.
On Linux: follow these instructions.
Step 1: Download the Space Acres Installer
Step 2: Install Space Acres
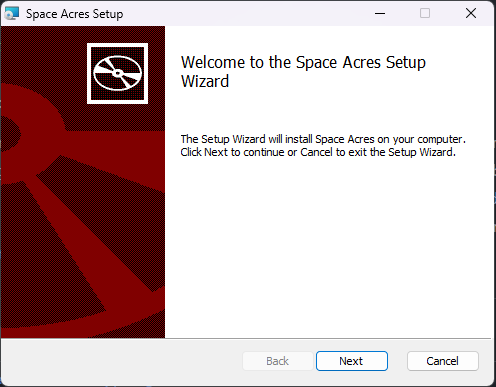
Open the downloaded Space Acres installer to launch the Setup Wizard. This wizard will guide you through the installation process.
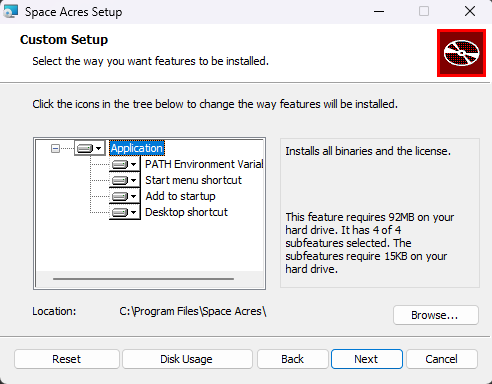
Choose your installation preferences, such as the destination folder and whether to create shortcuts. You can also select to have Space Acres launch at startup.
Review your settings and click
Installto commence the installation. The wizard will then install Space Acres on your system.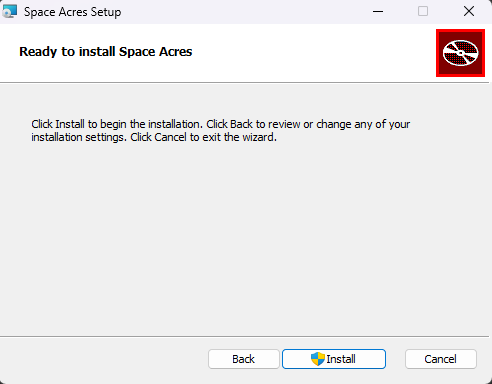
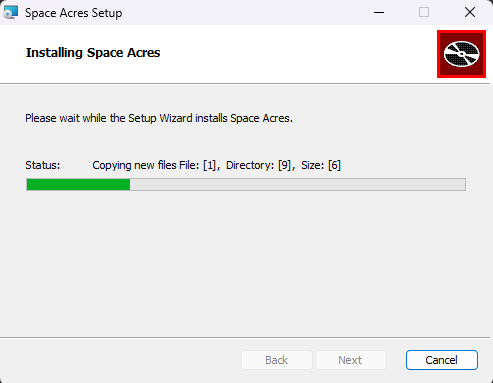
The installation progress will be displayed, showing the status of new files being copied.
Once the installation is complete, you will see a completion screen where you can choose to run Space Acres immediately by checking the box before clicking Finish.

Step 3: Initalize Space Acres
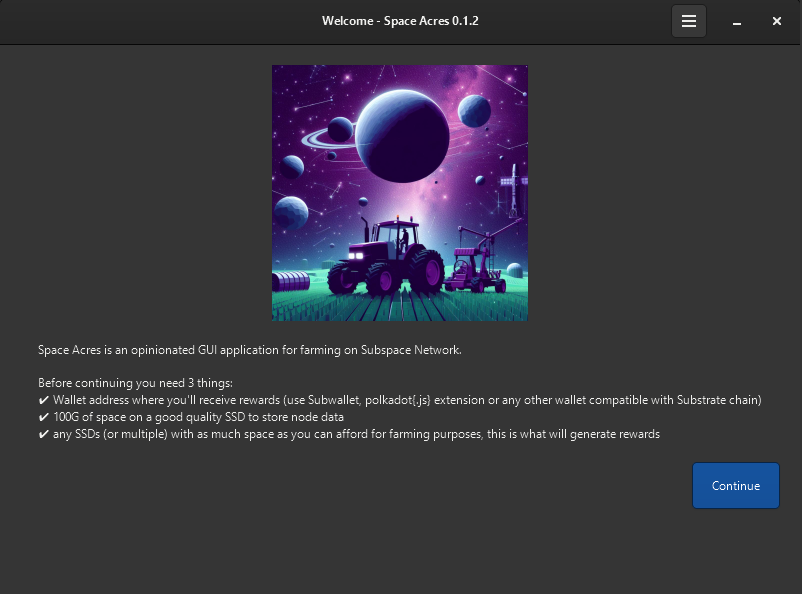
The welcome screen provides an overview of the necessary prerequisites for running Space Acres effectively. Make sure you meet all listed requirements before proceeding. For a comprehensive list of prerequisites and explanations, refer to our prerequisites guide.
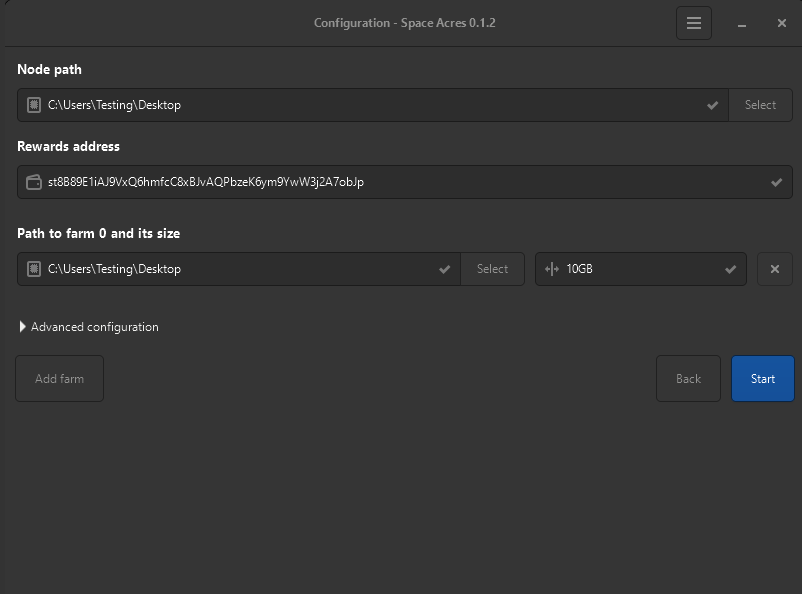
Configure your node and farmer settings by providing the following:
- Node path
- Rewards address
- Farm path
- Farm size
- (Optional) Add additional farms by selecting
Add farm
Click Start after the configuration is complete.
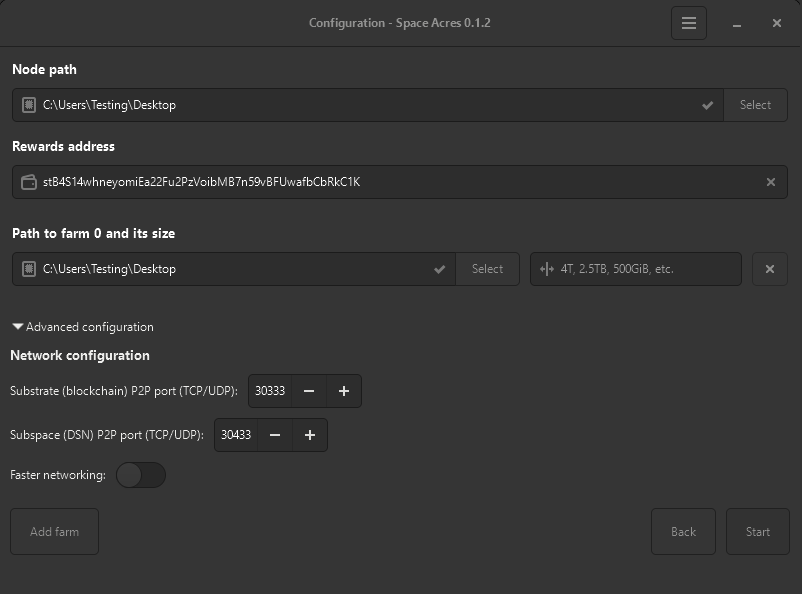
(Optional) If you want to configure advanced settings, toggle the
Advanced configurationsection. This will allow you to set the following:- Substrate Node P2P Port
- Subspace DSN P2P Port
- Enable Faster Networking
For more information on networking and its implications, refer to our networking guide.
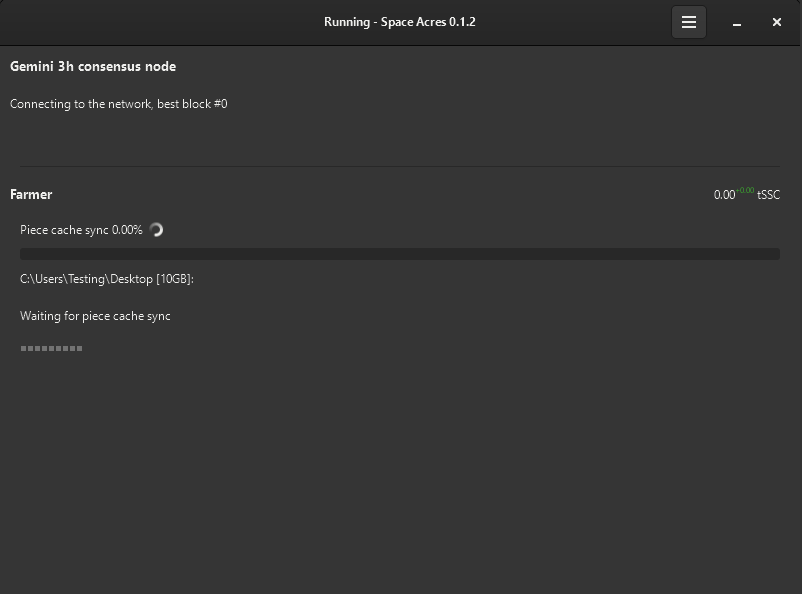
The application will then proceed to load, creating the consensus node and connecting to the network.

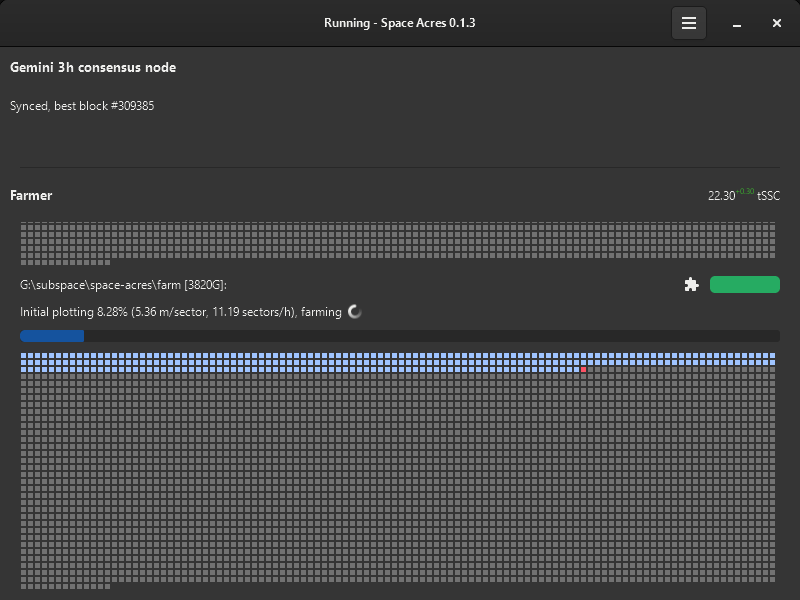
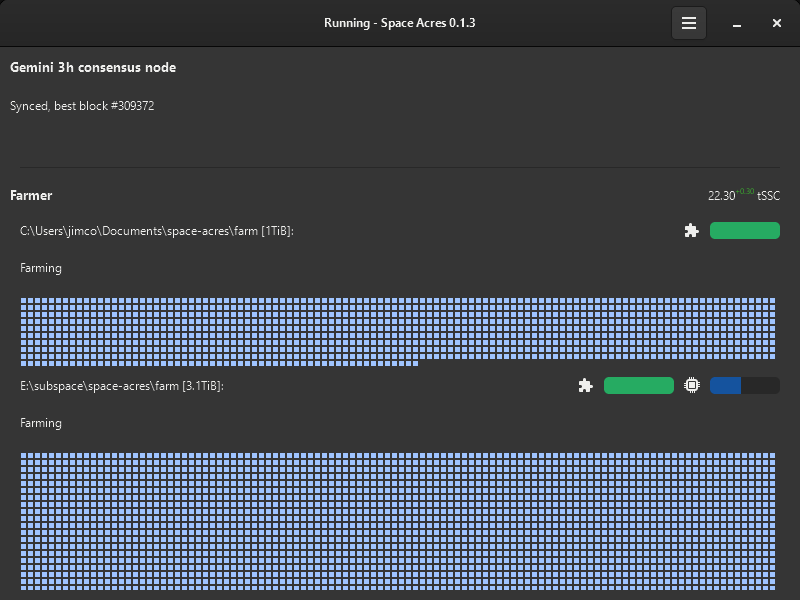
Finally, you will see the main interface of Space Acres, where your consensus node is running and your farmer is progressing along. Initial syncing & plotting may take some time to complete. Below are examples of the various stages you can expect.
a. Cache Syncing
b. Initial Plotting
c. Plotting Complete, now farming.
With Space Acres configured, your farming operation will commence seamlessly. Keep an eye on the application to track the progress of your farm and the accumulation of rewards. For your convenience, we've provided a table detailing the color codes associated with different sector statuses. This will enhance your insight into the activities and conditions of your plot.
Status Color Preview Description Default #727272
Default state of a farm sector Plotted #9fc4ff
Sector is plotted About to Expire #ffd678
Sector is nearing expiration Expired #ff877c
Sector has expired Downloading #499249
Sector is in the process of downloading (animated) Encoding #ff5365
Sector is encoding data (animated) Writing Sector is writing data (animated)
If you would like to learn more about how the syncing, plotting and farming processes works on the Subspace Network, please refer to our Subnomicon links below. Synchronization Plotting Farming