Foundry - testing and deployment
Testing and deploying smart contracts using Foundry
- Use
foundryuptoolchain installer
curl -L https://foundry.paradigm.xyz | bash
This will install foundryup, then simply follow the instructions on-screen, which will make the foundryup command available in your CLI.
Running foundryup by itself will install the latest precompiled binaries: forge, cast, anvil, and chisel. See foundryup --help for more options.
Once installed, create a project. Let’s name it
hello_subspace.To initialize the project, run
forge init hello_subspacecd into
hello_subspacedirectory and let’s have a look at the project’s structure.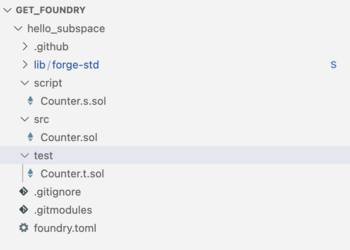
All the necessary repo structure was created automatically, so we can start writing and testing our smart contracts right away. As you can see, there are separate directories for storing smart contracts (src) and testing smart contracts (test). Let’s have a look at the
Counter.solsmart contract and add a few more functions to the standard behavior. Our smart contract will have three functions:setNumber()that sets the uint256 number to the provided value,increment()which increases the value by 1 anddecrement()which decreases the value by 1.// SPDX-License-Identifier: UNLICENSED
pragma solidity ^0.8.13;
contract Counter {
uint256 public number;
function setNumber(uint256 newNumber) public {
number = newNumber;
}
function increment() public {
number++;
}
function decrement() public {
number--;
}
}Let’s make sure that all functions are working properly by adding a couple of tests to the
Counter.t.soltest file and check if they pass.// SPDX-License-Identifier: UNLICENSED
pragma solidity ^0.8.13;
import "forge-std/Test.sol";
import "../src/Counter.sol";
contract CounterTest is Test {
Counter public counter;
function setUp() public {
counter = new Counter();
counter.setNumber(2);
}
function testIncrement() public {
counter.increment();
assertEq(counter.number(), 3);
}
function testSetNumber(uint256 x) public {
counter.setNumber(x);
assertEq(counter.number(), x);
}
function testDecrement() public {
counter.decrement();
assertEq(counter.number(), 1);
}
}In our tests, we first set the initial value of number to two, then check if function
increment()increases the value by 1 and ifdecrement()decreases the value by 1. Let’s build a project by running:forge buildand ensure that tests are working as expected by running
forge test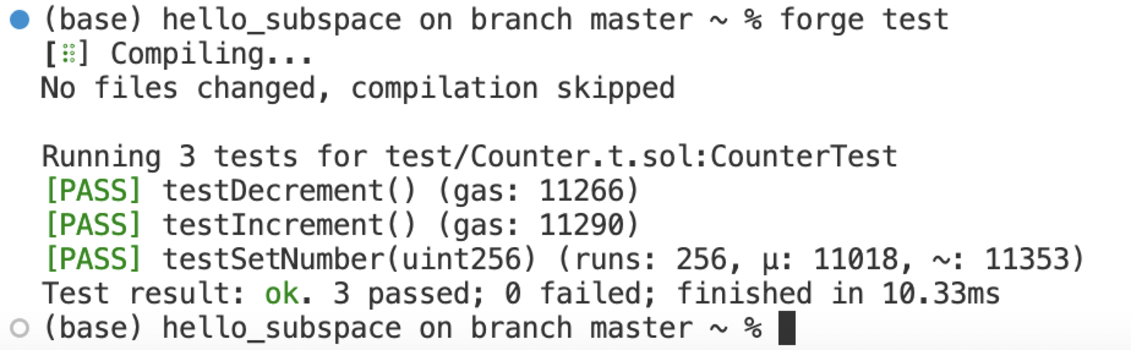
Nice, all tests are passing, meaning the smart contract is working as expected.
Next, there are two things we need to set, in order to deploy our smart contract:
- We need to connect a wallet that has sufficient balance of TSSC to cover the gas fees.
- We need to set an environment variable we will use later.
In order to make our lives easier, let’s create a new
Makefileas well as.envfile at the root of our project..envfiles are typically used to store environment variables for your application. They are particularly useful for managing settings that change between deployment environments (e.g., development, testing, staging, and production), and for storing sensitive information.Environment variables can include database connection details, API keys, external resource URIs, or other configuration variables that might change depending on the environment in which the application is running. In our case, we would use it to point to our Core-EVM RPC url by setting
RPC_URL=https://nova-0.gemini-3h.subspace.network/wsAnd then set a private key for the EVM-compatible wallet
PRIVATE_KEY=”your_private_key_value”tipIt's important to note that .env files should not be committed to your source control (like Git), especially when they contain sensitive data, like your private key. To prevent this, add .env to your .gitignore file. This helps to keep sensitive keys secure and avoids the risk of exposing them in the application's code or version control history.
In the Makefile, let’s create shortcuts to the main features of the application
# include .env file and export its env vars
-include .env

# Builds
build:
    @forge clean && forge build --optimize --optimizer-runs 1000000

# Deployment
deploy:
    @forge create Counter --private-key ${PRIVATE_KEY} --rpc-url ${RPC_URL}
We're importing the values for a
PRIVATE_KEYandRPC_URLfrom the.envfile.This allows us to run
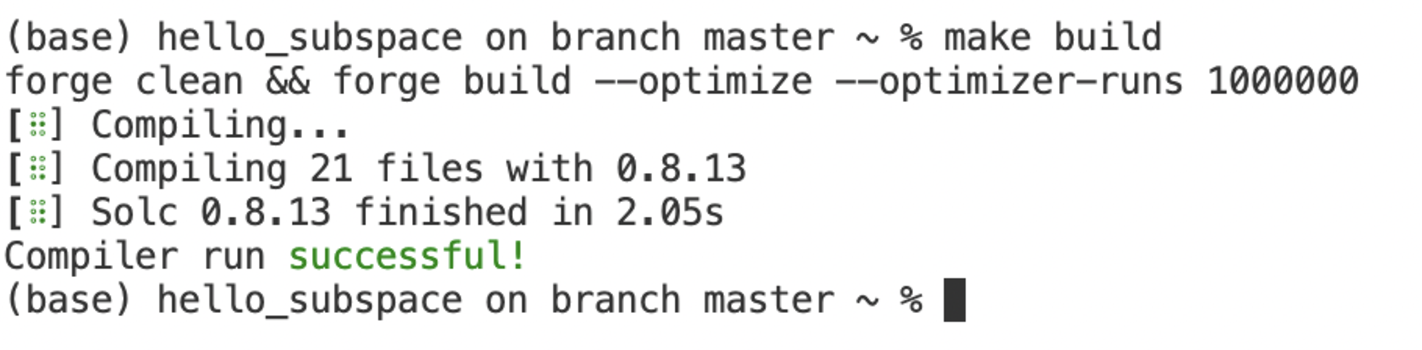
make buildfor building the project andmake deployfor deploying the project pointing to the provided RPC and using the provided private_key.Let’s run
make buildto make sure it’s working properly.
In order to deploy your contract using the specified
RPCandPRIVATE_KEYjust runmake deploycautionDo not attempt to speed up a transaction (do not include a tip on top of the gas fees). To read more about this, please refer to this section.
Congratulations, you've successfully deployed your smart contract on Subspace EVM!